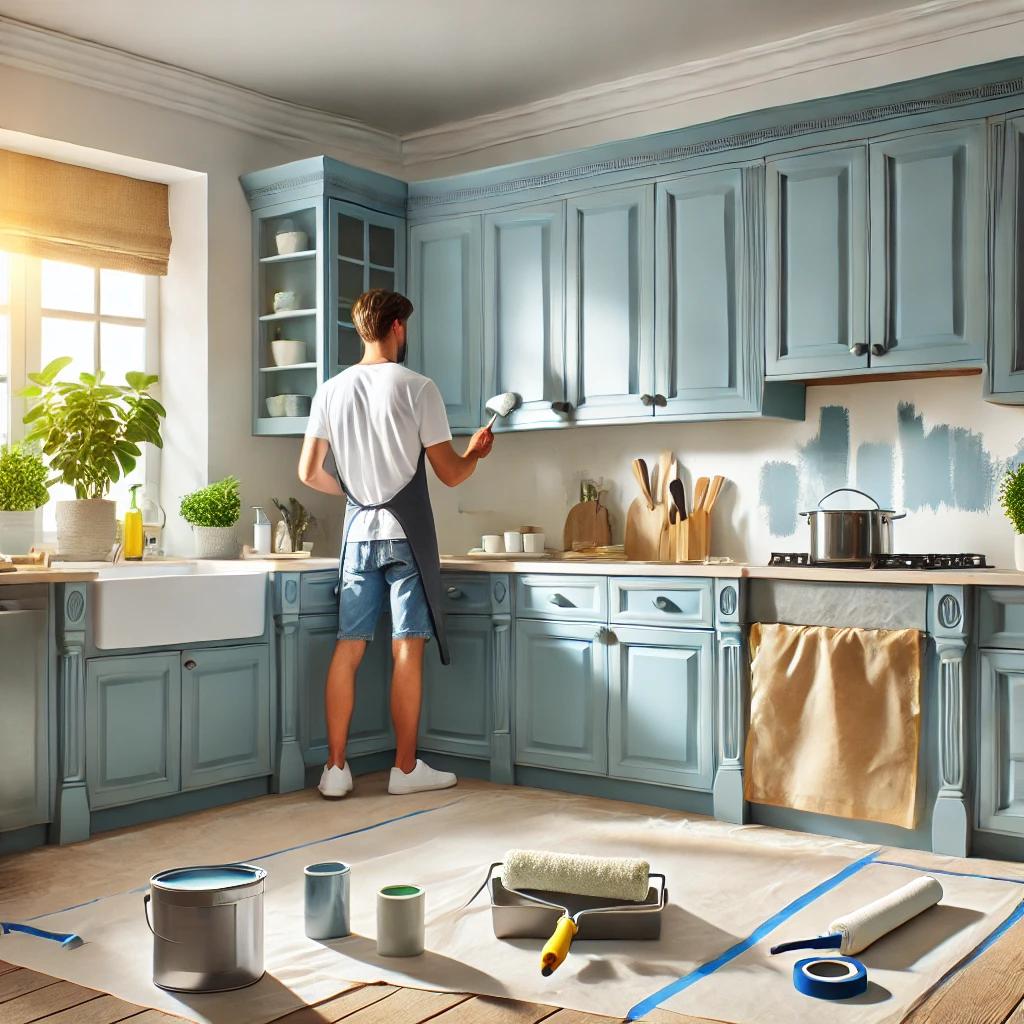
Giving your kitchen cabinets a fresh coat of paint is one of the best ways to transform your space without a full remodel. However, painting cabinets requires careful preparation and the right techniques to ensure a smooth, durable finish. Whether you’re updating outdated cabinets or just changing the color, this guide will walk you through the process of painting kitchen cabinets like a professional.
1. Gather Your Supplies
Having the right tools and materials will make your cabinet painting project much easier.
What You’ll Need:
- High-quality paint (satin, semi-gloss, or gloss finish)
- Primer (oil-based or bonding primer for best adhesion)
- Paintbrushes (angled brush for edges and corners)
- Foam roller (for smooth application)
- Sandpaper (120- and 220-grit)
- Painter’s tape
- Screwdriver (to remove hardware and doors)
- Degreaser or TSP cleaner
- Drop cloths and plastic sheeting
Pro Tip: Choose a durable paint that can withstand kitchen moisture and frequent cleaning.
2. Prep the Cabinets Properly
Proper preparation is key to achieving a long-lasting, professional-looking finish.
How to Prep Cabinets for Painting:
- Remove Cabinet Doors and Hardware: Use a screwdriver to take off doors, drawers, and handles.
- Clean the Surfaces Thoroughly: Use a degreaser or TSP cleaner to remove grease, grime, and residue.
- Sand the Cabinets: Lightly sand with 120-grit sandpaper to create a smooth surface for paint adhesion.
- Fill Any Holes or Dents: Use wood filler to repair imperfections, then sand smooth with 220-grit sandpaper.
- Wipe Down Dust: Use a damp cloth or tack cloth to remove sanding dust.
Pro Tip: Label doors and hardware as you remove them to make reassembly easier.
3. Prime the Cabinets
A high-quality primer ensures better adhesion and prevents stains from bleeding through the paint.
Choosing the Right Primer:
- Oil-Based Primer: Ideal for glossy surfaces and durability.
- Bonding Primer: Helps paint stick to laminate or slick surfaces.
- Stain-Blocking Primer: Prevents wood tannins from discoloring lighter paint colors.
Pro Tip: Use a foam roller for a smooth finish and a brush for corners and edges.
4. Apply the Paint in Thin Coats
Applying multiple thin coats of paint rather than one thick coat results in a smoother, more even finish.
Painting Tips:
- Use a High-Quality Paintbrush for Edges and Corners: An angled brush ensures precision.
- Roll Large Areas: A foam roller minimizes brush strokes.
- Apply Thin Coats: Let each coat dry completely before applying the next.
- Sand Lightly Between Coats: Use fine sandpaper (220-grit) to remove any imperfections.
Pro Tip: Let the cabinets dry for at least 24 hours between coats for best results.
5. Allow Ample Drying Time
Kitchen cabinets require extra drying and curing time before they can be used again.
Drying and Curing Recommendations:
- Allow cabinets to dry for at least 48 hours before reinstalling doors and hardware.
- Paint can take up to 30 days to fully cure—avoid heavy use during this time.
- Keep the area well-ventilated to speed up drying.
Pro Tip: Use a fan or dehumidifier to help paint dry evenly and reduce streaking.
6. Reassemble and Enjoy Your New Cabinets
Once the paint is fully dry, carefully reinstall the cabinet doors, drawers, and hardware.
Final Steps:
- Use new hardware or update existing ones for a refreshed look.
- Check for any touch-ups needed before finishing the project.
- Clean painted cabinets with a damp microfiber cloth to maintain their finish.
Pro Tip: Add soft-close hinges or new handles for an upgraded feel.
Final Thoughts
Painting your kitchen cabinets is a cost-effective way to give your kitchen a fresh, modern look. With the right preparation and technique, you can achieve a flawless, long-lasting finish that transforms your space.
Need professional help? Contact Perfecting Paint for expert cabinet painting services.
Request a free estimate and bring new life to your kitchen today!

